
When buying a new car, the top priority should always be getting protection applied. That first detail will be crucial in making sure your vehicle will look on top form for the years to come and will most definitely keep the resale value as high as possible.
First step is your wheels. Whether you decide to take them off or keep them on they should always be the first place you start. Being an area that accumulates the most grime, you will want to pay special attention to the intricate areas to ensure the complete removal of any stubborn contamination. We used a variety of agitation tools such as a large barrel brush by Ez details, and an entire load of goodies from Gtechniq including their highly popular WM2 wash mitt.

Wheels finished and out of the way, we then move onto the body work. Before having any contact with the vehicle it is important to use a pre wash. In this instance we used Gtechniq Citrus All Purpose Cleaner in the IK Multi Pro 9 Sprayer.
Find out more about the importance of a Pre Wash here in another article - https://www.mycarcleaning.co.uk/blogs/news/citrus-pre-wash-what-it-can-do-for-you

After removing 90% of the contamination that managed to build up on the bodywork within the first week of ownership. We then added a layer of foam, applied through a snow foam lance. We used Gtechniq Gwash. Even though this is a shampoo, it is still a great way to help to break the bond between any of the remaining dirt on the vehicles paintwork. Further ensuring the paint has little to nothing left on before the shampoo contact wash. Whilst letting the foam dwell, we had the opportunity to try out the new brush set from Gtechniq which includes 1 x Exterior brush (White Bristles) and 1 x Interior Brush (Black Bristles) With rubberised grips.


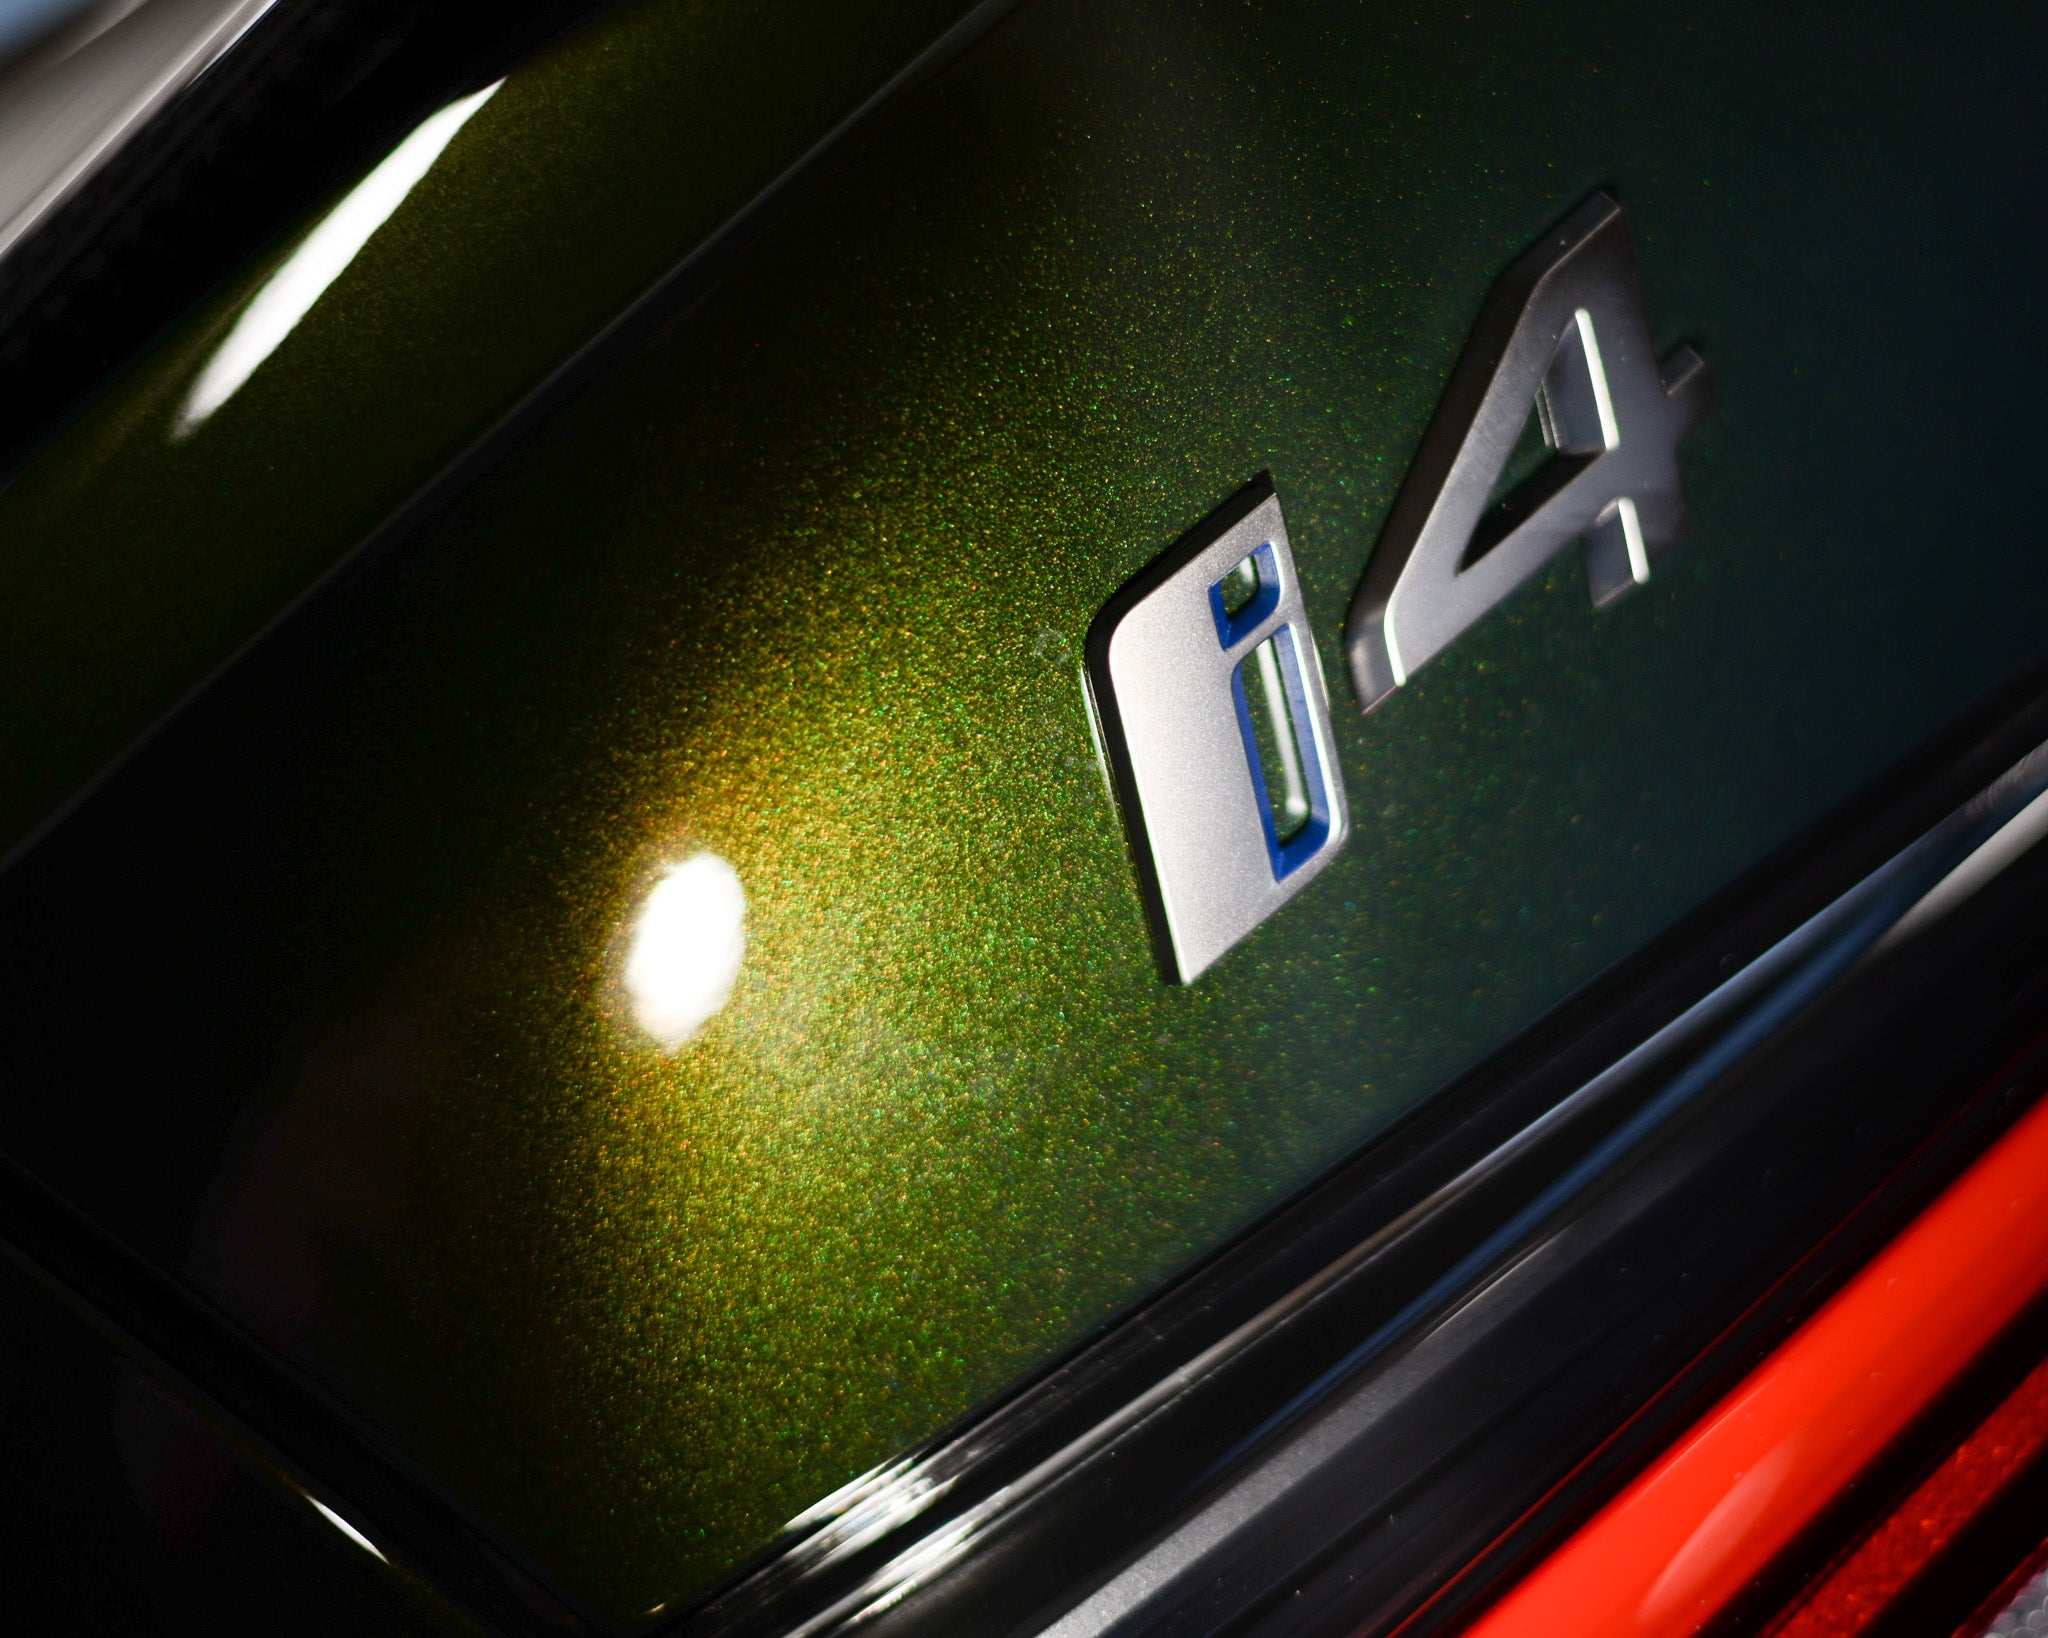
The i4 is then rinsed looking free of any loose contamination, so next up was the contact wash. Using the two bucket method keeping things super safe. We added a few capfuls of Gwash shampoo into one of them, foaming it up in the bucket using a pressure washer. The second bucket was then filled with fresh water for rinsing off the mitt. A fresh Gtechniq mitt was placed into the Lathered wash bucket to soak up the suds. We then took the freshly shampooed mitt to the bodywork. Working around the vehicle one panel at a time before going back to the fresh water bucket to rinse off any collected dirt that might be in the mitt. Re-dip into the shampoo bucket and repeat until each panel is complete.
Rinse once complete ready for the next step.
You can see more on the importance of the Two Bucket Method Here - https://www.mycarcleaning.co.uk/blogs/news/the-two-bucket-wash-and-why-it-is-so-important

Before drying and polishing, the car was sprayed down with a layer of Gtechniq W7 Iron & Fallout remover just in case any tougher deposits were still attached to the paint. Having ANY contamination on the paint during a machine polish would only cause imperfections in the factory fresh paint.
Spotting any 'bleeding' occur was proving to be a challenge with the wind that was present on the day of the detail, so we applied a thin layer of foam to help make out any reaction from the iron fallout visible. Once Washed over with a mitt for a final time, the car was ready for another rinse.

We then moved onto the final stage of the decontamination process, using a Mild Gyeon Clay bar, we worked in straight lines, with plenty of lubricant to prevent adding unwanted imperfections. The glass was also done to provide a better bond with the glass coating that was to be applied at the end of the detail.
See more on the clay bar process here - https://www.mycarcleaning.co.uk/blogs/news/do-you-need-to-clay-bar-your-paint

Using a Rupes ultra fine pad to ensure a high gloss finish, we then went onto our next stage of the detail. There's almost no point in doing all the hard decon work if you're not going to protect and maintain the finish. So we set about applying Gtechniq Crystal Serum topped with Exo for the paintwork. On the wheels we used C5 Wheel Coating by Gtechniq and on the glass G1 also by Gtechniq.


For the wheels, a panel prep solution by Gtechniq was used followed by the wheel coating to make sure the solution bonds as it should.


For the glass, you'll find an included residue remover called G5 that must be applied after the glass polish to help remove any residue before coating. Failure to complete all steps will result in a decreased performance and ultimately reduced protection.


As a finishing touch, we moved onto the next and final stage of the detail. Taking things into the interior and protecting the fresh red leather with its own ceramic. We used Gyeon Leather Shield applied in the same way as an exterior paint ceramic being sure to cover each area with enough solution to soak in and ensure the highest level of protection. After application follow over with a lint free microfiber towel to take up any excess.


Once all elements of protection are complete, be sure to finish off the vehicle by applying appropriate trim and tyre dressings. You can now rest assured your car has the highest level of protection and is prepared to take on any environment without a worry in mind. So sit back and appreciate the insane gloss levels your protection will provide!


If you've made it to the bottom and still have questions on what other benefits can come from a ceramic coating. See an article here for just that - https://www.mycarcleaning.co.uk/blogs/news/what-is-a-ceramic-paint-coating-and-why-use-it
